Showing posts with label Italy. Show all posts

Sunday, November 12, 2023

Purple Potato Gnocchi

We found purple potatoes at a local grocery store, and not long after, my son and I attended a cooking class and made gnocchi. On the purple potato box, it stated they were good potatoes to use for gnocchi, so a little bit later, my son and I made gnocchi with the purple potatoes at home. It was a lot of work, but the end result was so beautiful and tasty, too! 


For light gnocchi, the potatoes must be riced through a ricer. We don't have one, but we do have a spaetzle press, and used that. (Middle pic, above.) One gets the same results as a ricer. After ricing, let the potatoes cool completely. Then, add flour, salt, and egg. In the cooking class, we didn't use the egg. At home, the dough would not hold together without it. It depends on what type of potato you use, I think, and the moisture level. 

Purple Potato Gnocchi
recipe adapted from Chef M 

Gnocchi:
2 lb (i kg) purple potatoes
2 1/2 cup all-pourpose flour
1 egg (optional)
pinch of salt

Sage Sauce:
3 Tablespoons butter (I used salted)
3 Tablespoons extra-virgin olive oil
6 large sage leaves
1 clove of garlic, finely chopped
salt and pepper to taste
Grated Parmesan cheese, for garnish

1.  Boil the potatoes (whole) in slightly salted water until soft in the center. Drain and peel while still warm. Push the potatoes through a ricer or spaetzle press while still warm. Spread the potatoes out and let cool completely.

2.  Now, mix in the flour, salt, and egg, forming a dough. 

3.  Take sections of dough and roll into ropes, about as thick as your thumb. Cut these into 1/2-inch sections. Now, you can score each gnocchi on a fork or a gnocchi board to get those gnocchi grooves. You can also leave them smooth. Set the gnocchi onto baking trays covered with parchment paper. 

4.  Cook gnocchi in boiling salted water and remove as soon as they float to the top. (You can lower each sheet of parchment into the boiling water for easier transfer. As soon as the parchment touches the water, the gnocchi should fall into the water easily.) As soon as you remove the gnocchi, add them to the skillet with the sage/butter sauce (step 5). 

5. Meanwhile, make the sauce: Over medium heat in a skillet, melt the butter, oil, sage and garlic. Add the drained gnocchi and sauté together until well-mixed. Place on a plate and garnish with parmesan cheese.

**This post and photos are property of http://dishingwithdish.blogspot.com/**

Friday, March 25, 2022

Burrata and Marinated Cherry Tomato Sandwiches

This is one of my favorite recipes; discovered just a few months ago.  I made it for the first time last fall.  Since then, I've made it with fall and winter tomatoes, and it's just wonderful.  I can't wait to try it with summer tomatoes.  This recipe is easy, too.  You simply marinate the tomatoes for a little while (can be just a few hours or overnight), place on half of a toasted roll, top with burrata cheese, and black pepper.  Here in Italy, I buy "straciatella", which is just the inside of the burrata mozzarella ball; it comes in a tub.  Both ways would be good.  I'm not sure how common burrata is in the US, but I know friends there who do buy it.  

Sorry for the photo overload; these sandwiches are just so beautiful.  
Burrata and Marinated Cherry Tomato Sandwiches
adapted from Saveur

2 cups halved cherry tomatoes
1⁄4 cup plus 2 Tbsp. extra-virgin olive oil
1⁄4 cup balsamic vinegar
1 tbsp. capers
10 oil-packed anchovy fillets, finely chopped (2 Tbsp.), optional
Crushed red chile flakes, optional
Salt and freshly ground black pepper
One 8-oz. ball burrata or straciatella cheese
4 small crusty sandwich rolls

1.  To a large bowl, add the tomatoes, oil, vinegar, capers, anchovies, a pinch of chile flakes, and a generous pinch each of salt and black pepper. Stir well to combine. Cover with plastic wrap and let rest on the countertop or in the refrigerator for 8 hours or up to overnight (just an hour or two is also fine).

2.  When ready to serve, let the tomato mixture come to room temperature. Split each sandwich roll (I toast mine- I think these would get too soggy otherwise) and top with some of the tomato mixture (stir briefly before spooning it on). Divide the burrata among the rolls. Season with salt, black pepper, or more chile flakes to taste, and serve.


**This post and photos are property of http://dishingwithdish.blogspot.com/ **

Sunday, December 26, 2021

Overnight No-Knead Focaccia Bread

I've tried a few no-knead (and kneaded) focaccia recipes, many of which are on this blog.  I'll probably never make another after finding this recipe, though.  This recipe is phenomenal, SO easy, so tasty... just everything. You barely have to touch the dough- just mix together the night before, similar to the popular no-knead bread recipes floating around.  (You can also make the morning of, if you don't have time to do overnight.)  It has a slow rise in the fridge.  Then, you dump it out onto an oiled baking sheet where it has another slow rise (up to 4 hours) at room temp.  Then you press it into the corners of the baking sheet while the oven preheats, sprinkle it with kosher salt and more olive oil, and bake.  I love this bread so much I made it for my family's Christmas Eve dinner a few days ago.  

Another reason this recipe is great because it can wait around, rising, until you're ready for it.  (PS: The original recipe calls for brushing it with garlic butter after it comes out of the oven, but it's so good without it that I've never tried that, and will omit it from the recipe I'm posting below.) 

Overnight No-Knead Focaccia Bread
adapted from Epicurious

1 (¼-oz.) envelope active dry yeast (about 2¼ tsp.)
2 tsp. honey
5 cups (625 g) all-purpose flour
1 Tbsp. Morton kosher salt
6 Tbsp. extra-virgin olive oil, divided, plus more for hands
Flaky sea salt or Kosher salt 
softened butter, for pan

1.  Whisk yeast, honey, and 2½ cups lukewarm water in a medium bowl and let sit 5 minutes. Add flour and salt; mix with a rubber spatula until a shaggy dough forms and no dry streaks remain.

2. Pour 4 Tbsp. oil into the biggest bowl that will fit in your refrigerator. Transfer dough to bowl and turn to coat in oil. Cover with a silicone lid or plastic wrap and chill until dough is doubled in size (it should look very bubbly and alive), at least 8 hours and up to 1 day. (Mine did NOT rise super high in the fridge and get to the top of the bowl, just FYI.)

3.  Generously butter an 18x13" rimmed baking sheet (or similar size). **Update- my bread kept sticking, no matter how much butter/oil I used on the pan. Now, I just use parchment paper and it comes off SO nicely. 11/25** Pour 1 Tbsp. oil into center of pan. Keeping the dough in the bowl, gather up edges of dough farthest from you and lift up and over into center of bowl. Give the bowl a quarter turn and repeat process. Do this 2 more times; you want to deflate dough while you form it into a rough ball. (Using a fork in each hand makes this process even easier and less messy!) (There's a video on the original recipe, but it's probably also fine if you just dump the dough onto the baking sheet.)

4.  Transfer dough to prepared pan. Pour any oil left in bowl over the dough and coat it in oil. (At this point, don't stretch the dough to fit the pan- you'll do that in Step 5.)  Let rise, uncovered, in a dry, warm spot until doubled in size, at least 1½ hours and up to 4 hours. To see if it’s ready, poke the dough with your finger. The dough should spring back slowly, leaving a small visible indentation. If it springs back quickly, the dough isn’t ready. (If at this point the dough is ready to bake but you aren’t, you can chill it up to 1 hour.)

5.  Place a rack in middle of oven; preheat to 450°F.  Gently stretch out dough to fill the baking sheet. Dimple focaccia all over with your fingers, as if you’re aggressively playing the piano, creating very deep depressions in the dough (go all the way to the baking sheet). Drizzle with remaining 1 Tbsp. oil and sprinkle with sea salt or more Kosher salt. Bake focaccia until puffed and golden brown all over, 20–30 minutes.

**This post and photos are property of http://dishingwithdish.blogspot.com/ **

Tuesday, December 21, 2021

Gnocchi with Blue Cheese, Spinach, and Bacon (or Pancetta)

This is a new favorite dish of mine.  I made it once because it looked easy, and was blown away by how much I loved it.  Sadly, none of my kids like blue cheese, but my youngest did eat some of this.  My husband and I enjoyed this, and the leftovers are good warmed up.  The first few times, I used bacon, but the last time I made it, I used a small package of cubed, smoked pancetta and it was way easier and tasted just as good (I think).  I'm not sure if one can buy the small packages like that in the States, but it's a good option for those who live in Italy.  (Pic of the small package at the end of this post.)  The pancetta is easy because it's already cubed, and it contains a lot less fat than bacon, so there's less draining of the fat. I actually had to add some olive oil last time I made it to get that one tablespoon of fat.  I got this recipes from the Kitchn- I really love a lot of their recipes.  

Gnocchi with Blue Cheese, Spinach, and Bacon (or Pancetta)
adapted from The Kitchn

6 slices bacon (about 6 oz- OR 4-6 oz of cubed, smoked pancetta)
1 pound fresh, shelf-stable, or frozen gnocchi (I used fresh)
1/2 cup low-sodium chicken broth
2 cups packed baby spinach (about 2 ounces) (I roughly chop with clean kitchen scissors right in the glass measuring cup)  
1/2 cup crumbled blue or gorgonzola cheese

1.  Cook the bacon or pancetta over low heat in a large skillet, flipping halfway through, until the fat has rendered out and the bacon is crispy, about 10 minutes. Transfer the bacon to a paper towel-lined plate. Once cool, crumble the bacon. Drain all but about 1 tablespoon of the fat from the pan.

2.  Meanwhile, bring a large pot of salted water to a boil. Add the gnocchi and cook according to the package instructions. (My fresh gnocchi only take 2-3 minutes; are done when they rise to the top.)  Reserve 1/2 cup of the pasta water, then drain.

3.  Add the gnocchi to the skillet over medium-high heat and cook, stirring occasionally, until golden-brown, 1 to 2 minutes. Add the reserved pasta water, broth, and spinach, and cook, stirring until the spinach is wilted, about 1 minute. Remove the pan from the heat. Add the cheese and reserved bacon and stir to combine. Cheese will melt and form a nice sauce with the liquid already in the pan.  

**This post and photos are property of http://dishingwithdish.blogspot.com/ **

Saturday, January 9, 2021

Pasta Carbonara


I love Pasta Carbonara.  I've only ever had it in restaurants here, where the quality has varied.  The best I've had was in Florence.  We went the summer of 2020 for a quick trip; I need to post about that with the pic of the awesome Carbonara I ate.  

I've made this recipe a few times and it's very good.  My friend gave me the recipe.  When making this, one has to whisk the hot pasta into the egg mixture quickly, or you'll get some cooked bits of eggs.  I did get some cooked egg bits; you can see them in this pic.  But, it's still so good that I don't care about that.  

I use pancetta in this; I buy it cubed in a package so I don't have to mess with cutting it.  Here in Italy they sell smoked and "sweet", and you want the smoked for this.  Guanciale is traditional to use, and I've tried it that way, but I prefer pancetta, so I just use that.  Pecorino cheese is also traditional, and I've used that before, but today I had a package of Grana Padano already opened, so I used that.  Pecorino, Parmigianino, or Grana would all be wonderful in this.  Also, use the best quality eggs you can find, since they are a big part of this meal.  PS: I tried this with Rigatoni pasta as the original recipe suggests, and I really didn't enjoy it nearly as much as when I made it with Spaghetti.  Weird, but Spaghetti is my preference.  
Pasta Carbonara 
adapted from Female Foodie

4-6 ounces pancetta, guanciale, or bacon (I use 200 grams smoked pancetta) 
2 ounces Pecorino Romano, Grana Padano or Parmigiano-Reggiano
2 whole eggs
4 egg yolks
1 teaspoon sea salt
fresh cracked pepper, to taste
1 pound pasta, such as spaghetti 

1.  Bring a large pot of generously salted water to a boil.

2.  While the water is coming to a boil, prepare and cook the guanciale. Cut into 1 x 1/2 inch strips. (I'm lucky enough to buy mine already cut into cubes.)  Bring a dutch oven or large pan (enough room to add the pasta later on- I used a large non-stick wok today, and it was great) to medium heat. Add guanciale or pancetta. Cook until crisp on the outside, but still soft/chewy on the inside (about 7-8 mins). Using a slotted spoon, transfer guanciale from dutch oven to plate lined with 2 paper towels. Discard all but two Tablespoons of grease from pan.

3.  Once pasta water is boiling, add pasta. You can cook until your desired done-ness.  Most recipes suggest al dente but I prefer a bit more cooked than that.  

4.  While the pasta is cooking, prepare cheese and egg. Finely grate 2 ounces of pecorino romano (or other) cheese. Crack eggs/egg yolks into a medium sized bowl and whisk eggs until smooth. Add 3/4 of grated cheese (set the rest aside for later), 1 teaspoon of sea salt, and a few cranks of pepper to the eggs and whisk together. Just before the pasta is finished, remove 1 cup of pasta water from pot. Add 1/2 cup of pasta water to the egg/cheese mixture and whisk quickly until smooth.

5.  Bring guanciale/pancetta and the two tablespoons of reserved fat back to medium heat in the dutch oven/wok. Once pasta is done cooking (barely al dente), add to dutch oven/wok with fat and guanciale/pancetta. Cook for about 30 seconds together, integrating the pasta with the guanciale and oil. Remove from heat.

6.  Add egg/cheese mixture to the dutch oven. With a wooden spoon or spatula, stir quickly and vigorously to incorporate all ingredients of the carbonara together. (The hot pasta cooks the eggs thoroughly here; you're not eating raw eggs.)  If the pasta seems too dry, you may add more pasta water, a tablespoon at a time. (Last time, I ended up adding the whole other 1/2 cup, slowly.)  Taste pasta to make sure it has adequate amount of salt. Plate the pasta and top with additional fresh cracked pepper and the reserved amount of grated cheese. Serve immediately.
**This post and photos are property of http://dishingwithdish.blogspot.com/ **

Monday, April 27, 2020

Laghi, Italy

Back in the fall of 2019, we took a last-minute, spur-of-the-moment day trip to Laghi, Italy.  It's not far from us, but worlds away in that it's a pristine, quiet town in the foothills of the pre-Dolomites.  I'm a member of a local Facebook travel group, and a few people there had mentioned it.  The town is tiny, tiny, and is flanked by two small lakes (Laghi is "lakes" in Italian.  We parked and took a nice serene walk around the lakes, then tried the only restaurant in town for lunch.  (Trattoria Dalla Santa).  We actually stopped in to the restaurant before our walk to ask if they could seat us, since there's 6 of us.  They told us to come back in an hour, so we did. 
It was a beautiful, slightly cool fall day, and our family all enjoyed the stroll around the outskirts of Laghi.  Afterwards, we really enjoyed eating at the Trattoria.  Their specialty is homemade pasta with a choice of three sauces.  Gnocchi is really good there, as the right kind of potatoes grow in the foothills of these mountains.  I got their homemade gnocchi with sage-butter sauce.  It was so good!  I hope we can go back to visit this beautiful place sometime soon., as soon as this craziness is over.


**This post and photos are property of http://dishingwithdish.blogspot.com/**/

Friday, April 24, 2020

Strawberry Tiramisu

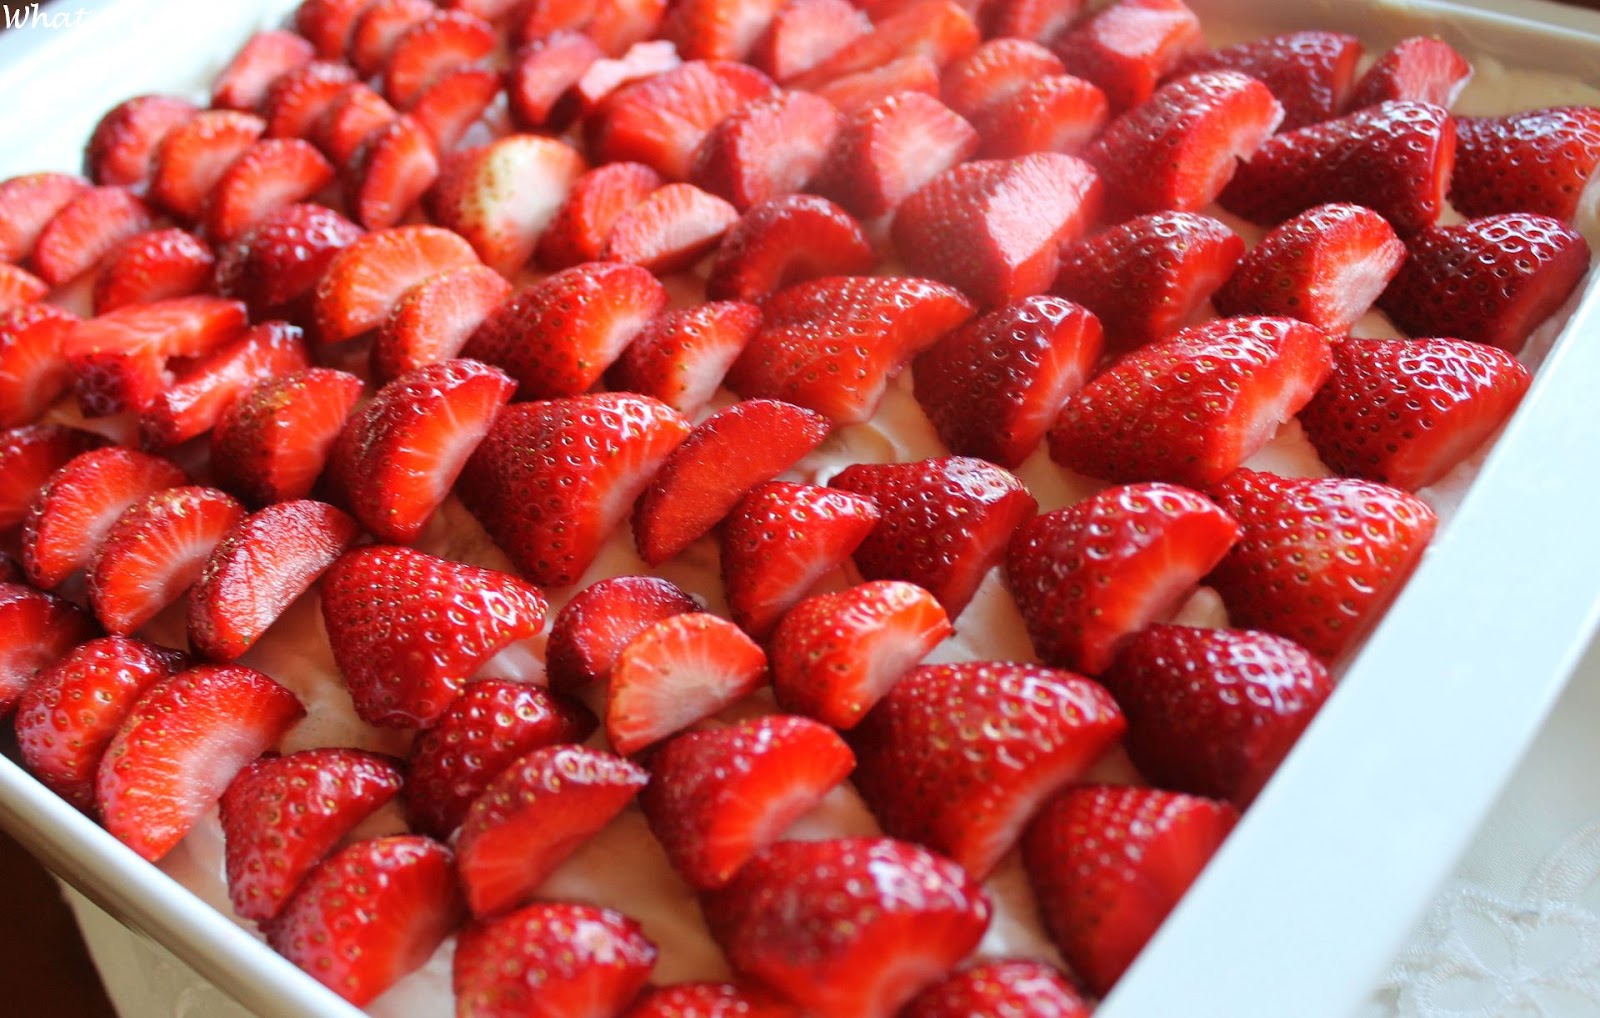
I love Strawberry Tiramisu.  I first made it in a cooking class, and I finally made it at home recently, twice.  Lol.  For the liquid, instead of the coffee that's in usual Tiramisu, I used an Italian red multi-fruit juice.  I also cooked the egg yolks and sugar together in a double boiler until it reached 160 degrees F, to quell any raw-egg fears.  Although... I think European eggs/chickens are vaccinated against salmonella so it would have been fine.  But anyway... it worked well.  I just did it first so it could cool off before adding to other ingredients. 

This makes a lot!!  It filled up a giant 9x13 pan.  It wouldn't work in a regular one, I think. You need a pan with deep sides, for sure. 

Strawberry Tiramisu
from myself :)

5 egg yolks
1 cup granulated sugar
750 grams mascarpone cheese (about 1.5 pounds), room temperature
1 1/2 packages lady fingers (estimated... buy 2 packages, you might need more or less)
1 1/2 cups heavy cream
1/4 cup powdered sugar
1 teaspoon vanilla extract
1 1/2 kilo strawberries, rinsed, hulled and sliced in half (3-4 grocery store packages)
1/2 cup or more of any red multi-fruit juice (not cranberry) or orange juice or lemoncello, if you want

1.  In a double boiler, cook egg yolks and granulated sugar, whisking constantly, until it reaches 160 degrees F.  Set aside off the heat to cool slightly.

2. Beat egg mixture with mascarpone until light and fluffy.

3.  In a separate bowl, beat heavy cream until soft peaks form.  (I used my stand mixer for the cream, and my hand mixer for the egg mixture.)  Carefully fold the egg mixture into the cream with a silicone spatula. 

4.  Dip ladyfingers in juice quickly, on both sides.  You want the liquid to seep into them but not too much.  You don't want them to be soggy, or too dry.  You can dip one first and bite into it to test, if you've never done this before.  As you dip, lay the dipped lady fingers in the bottom of a large (deep) 9x13 pan in a single layer.  Top with half of the mascarpone cream mixture.  Top with an even layer of halved strawberries.  Repeat layers- dipped ladyfingers, mascarpone cream mixture, strawberries.  Best refrigerated for a few hours; overnight is best. 
**This post and photos are property of http://dishingwithdish.blogspot.com/**/

Friday, April 10, 2020

Fried Zucchini Blossoms

A few years ago, I made these Stuffed Zucchini Blossoms.  I wanted to make Zucchini Blossoms again, but this time, not stuffed.  I didn't have anything to stuff them with and I wanted to see what they were like just plain. I've had them at local food fests, but covered in sugar as a dessert.  I didn't want that, either; I wanted savory. Here in Italy, one can buy trays of just zucchini blossoms this time of year. I love them! I also love the baby zucchinis with the flower attached, to use in pasta.
I found a few recipes online and combined parts of them.  I mostly used an Epicurious recipe, and added a few beaten egg whites folded in for lightness.  I used sparkling water, and that combined with the whipped egg whites made the batter so incredibly light and fluffy; these were SO good, and fun to make too.  After we ate these we dipped other random things in the batter and fried and ate them all (basil leaves, pickles, Oreos.... strawberries.....)

Eat these right away... they start to get all weird and soggy if they sit too long.

Fried Zucchini Blossoms
adapted from Epicurious

Sunflower or Vegetable oil (for frying)
1 1/4 cups all-purpose flour
1 teaspoon kosher salt
12 ounce sparkling water, club soda or beer
2-3 egg whites, stiffly beaten (optional, but I recommend)
Zucchini blossoms, rinsed (stamens removed; about 2 dozen)
Sea salt

1.  In a large pot, heat about 2" oil (I used a small saucepan to reduce the amount of oil used... I also don't' know if I used 2 inches) over medium heat until a deep-fry thermometer reads 350°. Combine flour and salt in a medium bowl, then whisk in water or beer until almost smooth (some small lumps are welcome—don't overwhisk or you'll deflate the batter). Fold in the egg whites.

2.  One by one, dredge the blossoms in batter, shaking off the excess; gently lay them in the oil, without crowding the pan. Cook, flipping once with a slotted spoon, until golden brown, 2-3 minutes total. Transfer to paper towels to drain. Sprinkle with sea salt and devour while hot.
**This post and photos are property of http://dishingwithdish.blogspot.com/**

Friday, June 14, 2019

Pistachio No-Bake Cookies


I loved these cookies.  I had the idea after making a Biscoff version of no-bake cookies.  I think you can replace the peanut butter in no-bakes with any spread and it would work.  I've already done Nutella and Biscoff, but I want to try white Nutella next.  Here in Italy you can buy jars of pistachio paste and it's so good.  It's like Nutella but made with pistachios and is beautiful and green.  It's sold next to the Nutella. I meant to include a pic of the jar; might add that later.  :)  I added a few drops of almond extract to these, but you can leave it out and let the pistachio flavor shine through.
Pistachio No-Bake Cookies
adapted from here

1 3/4 cups white sugar
1/2 cup milk
1/2 cup butter
1/2 cup pistachio paste
3 cups quick-cooking oats
1 teaspoon vanilla extract
a few drops of almond extract, optional

1. Have pistachio paste, oats, and vanilla ready to go (measure out pistachio paste and oats). In a medium, heavy saucepan, combine sugar, milk, and butter. Bring to a boil, and cook for 1 1/2 minutes (can cook for 1 minute + 45 seconds to make sure they set up). Remove from heat, and immediately stir in pistachio paste, oats, vanilla and optional almond extract. Drop by teaspoonfuls onto wax paper. (I like using a cookie scoop.)  Let cool until hardened.

**This post and photos are property of http://dishingwithdish.blogspot.com/**

Sunday, April 21, 2019

Girl's Trip to Saturnia, Orvieto & Civita de Bagnoregio

Last month, I took a trip with two other friends to three amazing places.  We did it in one weekend- Saturday to Sunday; leaving early Saturday and returning Sunday night.  We saw and did so much but also had time to relax.  First, we went to Saturnia hot springs, pictured above.  This is located in Tuscany near the town of Saturnia.  This place is amazing! It's free, with free parking.  You just go and enjoy.  It reminds me of Mammoth Hot Springs in Yellowstone, but there's people lounging and swimming in the water.  Lol!


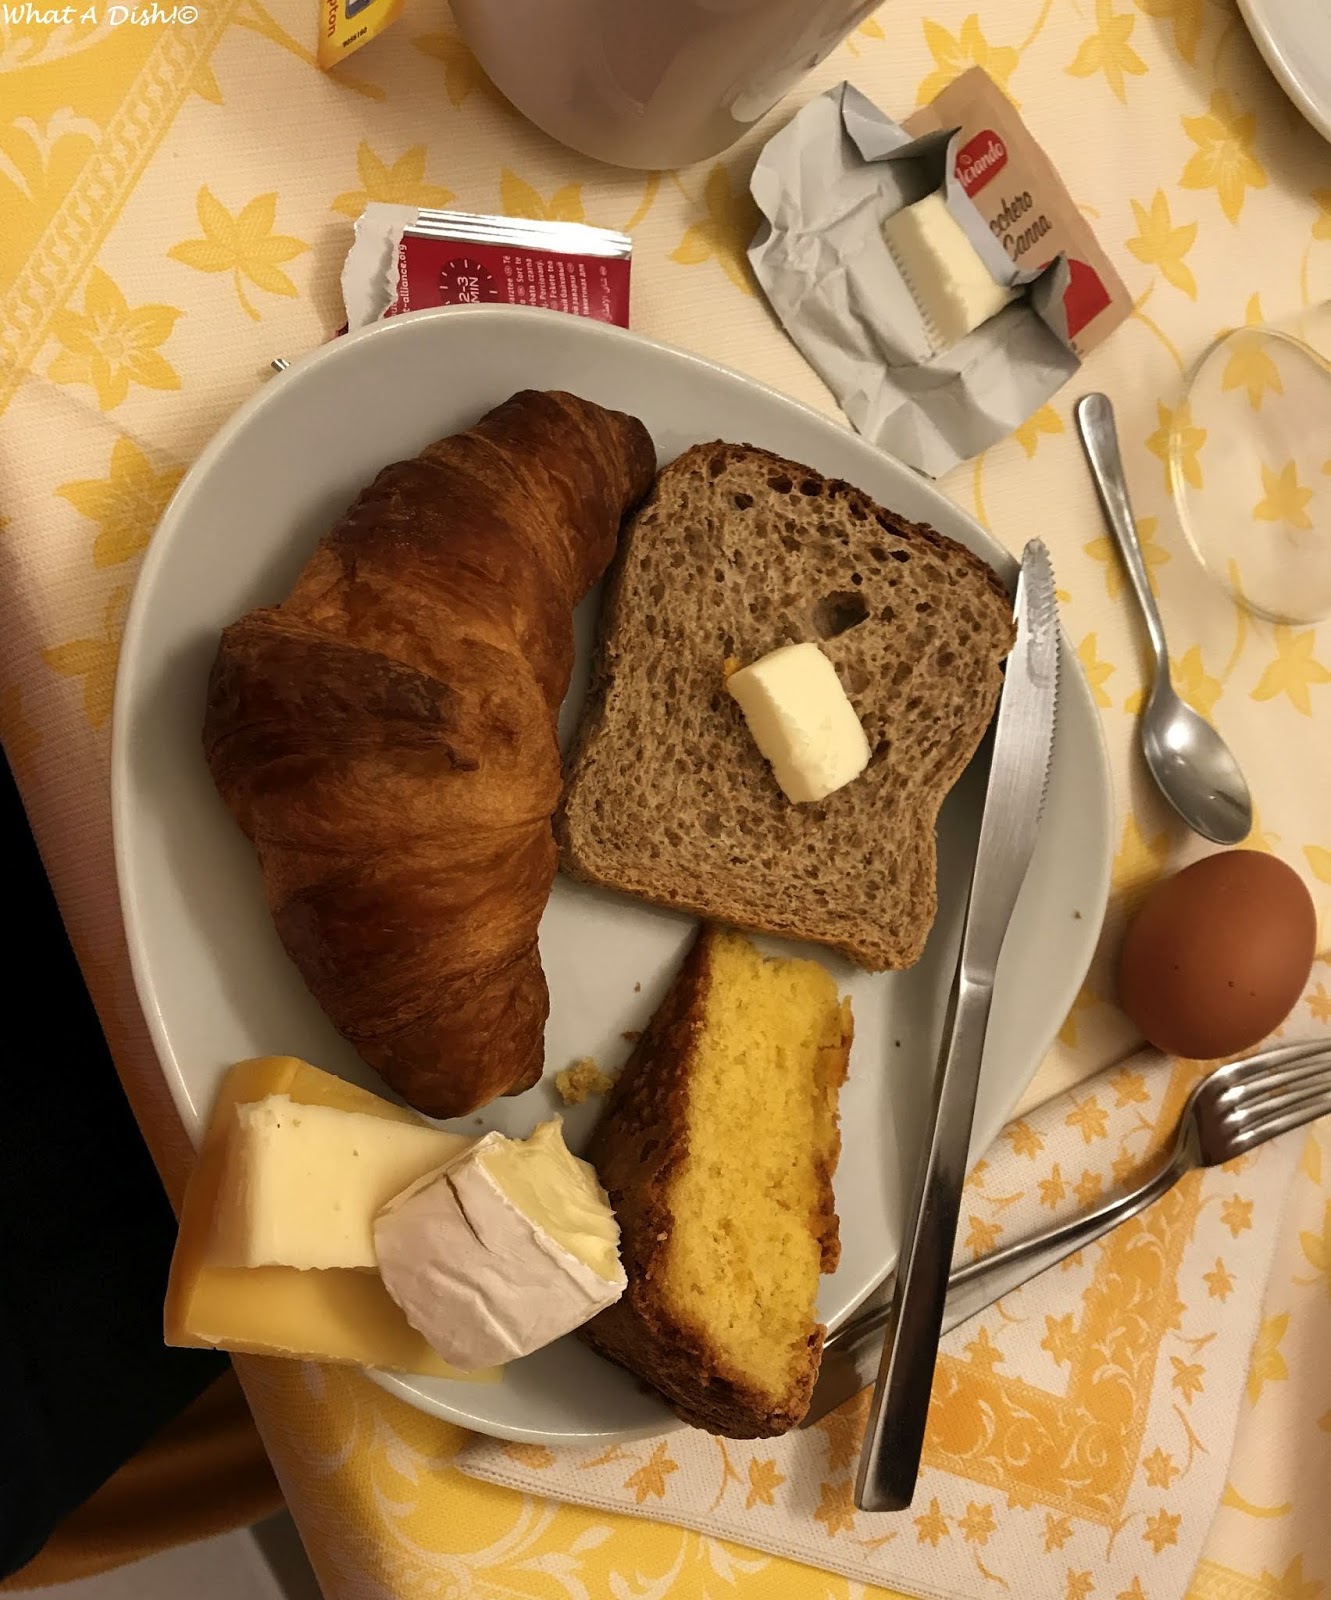
Next, we went to Orvieto.  I had briefly visited this little town with my fam on the way back from Rome, but we didn't get to spend much time there.  On this trip, we stayed in a cute little boutique hotel right by the Duomo (cathedral).  We ate at an amazing restaurant that night, (with great eggplant dishes), had a great breakfast in the hotel, and then explored St. Patrick's well before moving onto our next location.
Our next stop was Civita di Bagnoregio- a stunning little ghost town built on a hill, only accessible by this foot bridge.   You buy a ticket to cross the bridge and then wander around.  We weren't going to eat lunch here at first but then decided to- and what a great decision.  We ate at Osteria al Forno di Agnese- pictured below.  The meal I had is below that- delicious Cacio e Peppe tortellini, set on a bed on pureed potatoes, covered with slivers of black truffles.  Oh my gosh, so good.  This girl's trip was SO fun and such a good experience.  I will treasure the memories always.  :)


**This post and photos are property of http://dishingwithdish.blogspot.com/**/